TLDR; Bootstrap seems to incorporate the least favorable aspects of both Pico CSS and Tailwind CSS. So I’ll be using Pico CSS for quick prototypes and Tailwind CSS for more complex systems.
Table of Contents
Introduction
In the ever-evolving world of web development, the choice of the right CSS framework can significantly influence the productivity, aesthetics, and functionality of your project. Bootstrap has long been a dominant player in this field, offering a plethora of utility classes and pre-made components that make the life of a web developer considerably easier.
This was especially true for me, as Bootstrap was my default choice for side projects, primarily because of its simplicity and wide-ranging functionality. However, during my recent endeavors, I’ve encountered some limitations with Bootstrap that led me to explore alternatives like Pico CSS, particularly for simpler projects. In this blog post, I’ll delve into the reasons behind this shift and compare Bootstrap with Pico CSS and another popular framework, Tailwind CSS.
Utility Classes in CSS
Before diving into the specifics, let’s talk about utility classes in CSS. For those new to the concept, utility classes are essentially a set of CSS classes that serve specific styling purposes. They allow developers to apply styles directly in the HTML markup, thereby speeding up the development process and making the code more readable.
/* Margin utilities */
.m-0 { margin: 0; }
.m-1 { margin: 4px; }
.m-2 { margin: 8px; }
.m-3 { margin: 12px; }
/* ... and so on for other sizes */

/* Padding utilities */
.p-0 { padding: 0; }
.p-1 { padding: 4px; }
/* ... and so on for other sizes */
<div class="m-2 p-1">
This div has a margin of 8px and padding of 4px.
</div>depending on how a css library uses utility classes, it can be classified as either classless, utility-based, or utility-first
Bootstrap
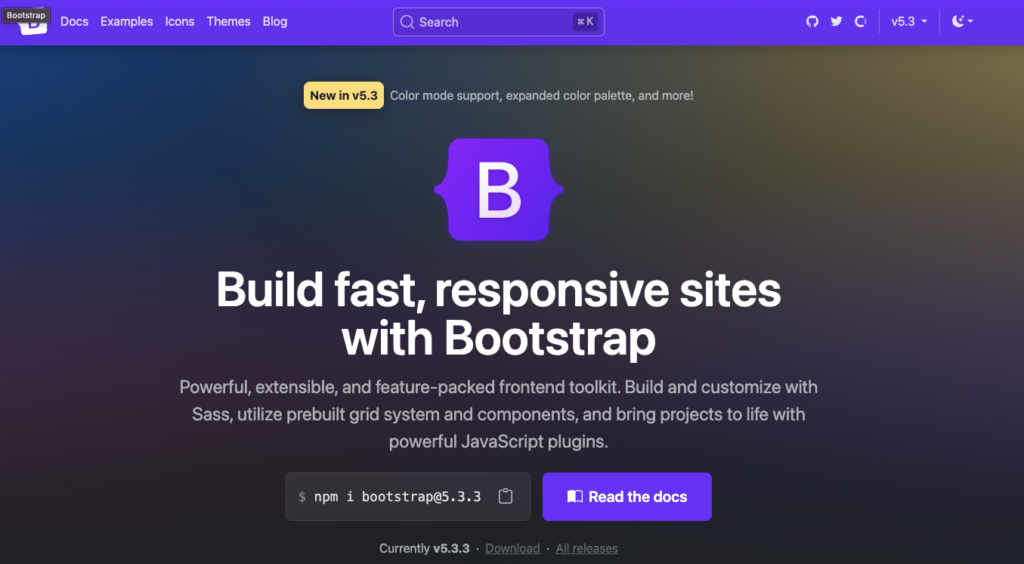
https://getbootstrap.com/docs/5.3/getting-started/introduction/
Initially developed by Twitter, Bootstrap is a renowned CSS library featuring mobile-first responsive design. It includes templates for typography, forms, buttons, and more, plus optional JavaScript plugins.
Pros
- Relatively simple to learn & use
- Comes with many pre-made components
- Supports popovers with
Popper.js
Cons
- Utility classes can feel restrictive. Which results in having to create my own utility classes
- Without much customization, website feels so called bootstrap-y
Example

<div class="card" style="width: 18rem;">
  <img src="..." class="card-img-top" alt="...">
  <div class="card-body">
    <h5 class="card-title">Card title</h5>
    <p class="card-text">Some quick example text to build on the card title and make up the bulk of the card's content.</p>
    <a href="#" class="btn btn-primary">Go somewhere</a>
  </div>
</div>
Pico CSS: A Classless Alternative
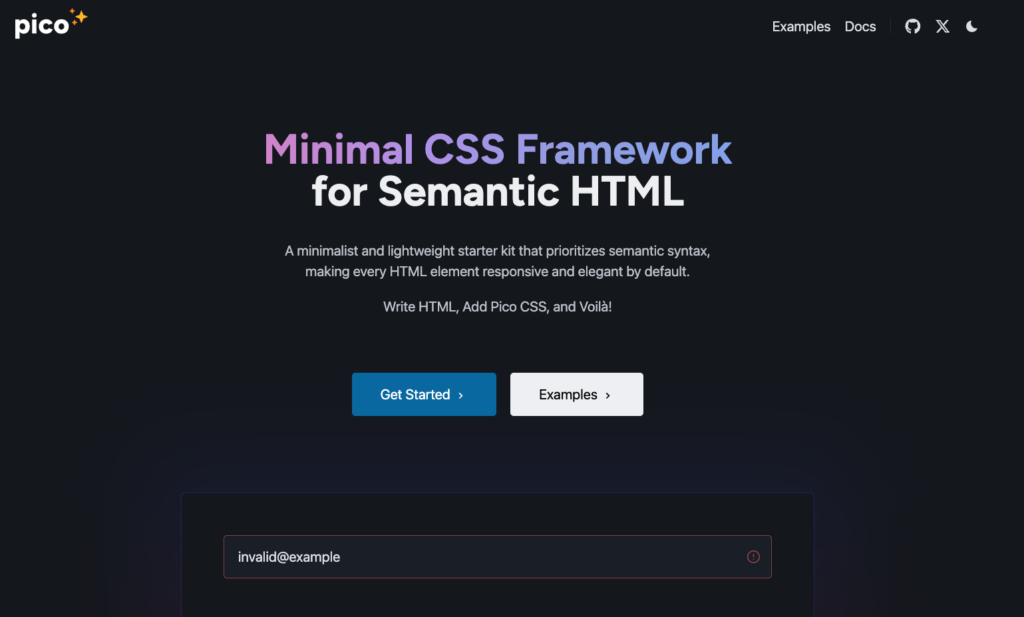
This is where Pico CSS enters the scene. Pico CSS is a minimalistic, classless framework that focuses on simplicity and HTML semantic. Classless CSS frameworks don’t rely on utility classes. Instead, they style the basic HTML elements directly, ensuring a clean and streamlined HTML structure.
Pros
- Thoughtful defaults make even a plain HTML bearable
- CSS based on HTML tag semantic and hierarchy make you write better HTML
- having no classes means better integration with HTMX as you don’t have to through classes around any more
Cons
- Can be limiting when you want to fully customize
Example

<article>
  <header>Header</header>
  Body
  <footer>Footer</footer>
</article>
More Bootstrap vs Pico CSS Code
The moment when I decided to move over to pico CSS was when I had to make an accordion component. Accordion is a component which has title and collapsable text. With plain HTML, it looks something like this
<details open>
  <summary>Accordion 1</summary>
  <p>this is the conent of accordion</p>
</details>
pretty simple heh? When I tried to make one more bootstrap, I had to do following
<div class="accordion" id="accordionExample">
  <div class="accordion-item">
    <h2 class="accordion-header" id="headingOne">
      <button class="accordion-button" type="button" data-bs-toggle="collapse" data-bs-target="#collapseOne" aria-expanded="true" aria-controls="collapseOne">
        Accordion Item #1
      </button>
    </h2>
    <div id="collapseOne" class="accordion-collapse collapse show" aria-labelledby="headingOne" data-bs-parent="#accordionExample">
      <div class="accordion-body">
        <strong>This is the first item's accordion body.</strong> ...
      </div>
    </div>
  </div>
  <div class="accordion-item">
    <h2 class="accordion-header" id="headingTwo">
      <button class="accordion-button collapsed" type="button" data-bs-toggle="collapse" data-bs-target="#collapseTwo" aria-expanded="false" aria-controls="collapseTwo">
        Accordion Item #2
      </button>
    </h2>
    <div id="collapseTwo" class="accordion-collapse collapse" aria-labelledby="headingTwo" data-bs-parent="#accordionExample">
      <div class="accordion-body">
        <strong>This is the second item's accordion body.</strong> ...
      </div>
    </div>
  </div>
  <div class="accordion-item">
    <h2 class="accordion-header" id="headingThree">
      <button class="accordion-button collapsed" type="button" data-bs-toggle="collapse" data-bs-target="#collapseThree" aria-expanded="false" aria-controls="collapseThree">
        Accordion Item #3
      </button>
    </h2>
    <div id="collapseThree" class="accordion-collapse collapse" aria-labelledby="headingThree" data-bs-parent="#accordionExample">
      <div class="accordion-body">
        <strong>This is the third item's accordion body.</strong> ...
      </div>
    </div>
  </div>
</div>
oh my god, why? Why do I have to go through this for such a simple UI? At this point I was tired of learning bootstrap classes. I just wanted to create a prototype and didn’t want to spend much time on styling my HTML. After discovering pico css, I looked up how to create accordion in pico css.
<details open>
  <summary>Accordion 1</summary>
  <p>...</p>
</details>

<hr />

<details>
  <summary>Accordion 2</summary>
  <ul>
    <li>...</li>
    <li>...</li>
  </ul>
</details>
wow not a single css. If you want just a little bit more design you can also do following
<details>
  <summary role="button" class="outline">Primary outline</summary>
  <p>...</p>
</details>
Comparing Bootstrap 5, Pico CSS, and Tailwind CSS
Before wrapping things up, let’s compare bootstrap and pico css along with another popular library; Tailwind CSS. I won’t go into details about tailwind CSS as that is out of scope for this post.
| Feature | Bootstrap 5 | Pico CSS | Tailwind CSS |
|---|---|---|---|
| Class System | Utility-based | Classless | Utility-first |
| Customizability | High | Moderate | Extremely High |
| Learning Curve | Moderate | Easy | Steep |
| File Size | Larger | Minimal | Variable |
| Design Control | Moderate | High (Semantic) | High |
Conclusion
To sum up, selecting the right CSS framework is highly dependent on the specific requirements of your project. For rapid prototyping and more straightforward projects, I’ve come to prefer Pico CSS for its ease of use and streamlined design. Consequently, my go-to prototyping combination now includes HTMX, Pico CSS, and Spring MVC. On the other hand, for projects that demand extensive customization and intricate designs, Tailwind CSS stands out as a more suitable choice. Bootstrap, in my view, occupies a middle ground between Pico and Tailwind, inheriting some disadvantages from both.
The key takeaway is that there is no universal solution in web development; every project is distinct, and a thorough understanding of these frameworks is vital for making a choice that aligns best with the needs of your specific project.
